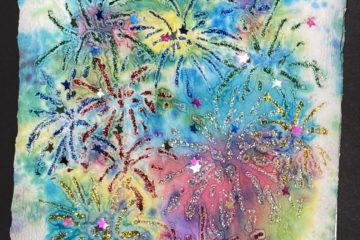
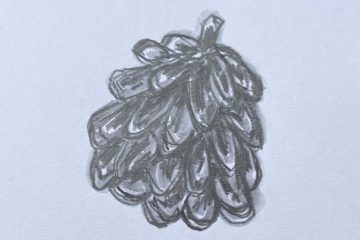
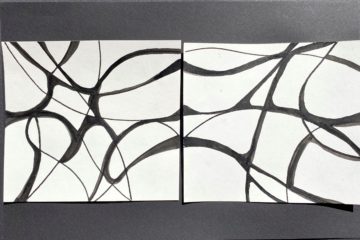
This project was another first for me. I’ve always loved the look of a white medium on dark paper and have used white pencils (like in the Foundations Course’s Contour 2 lesson), white pastels, white crayons, white paints, and white inks in my artwork. Expanding my knowledge with white paint pens was something I was more than happy to take on.
When first trying out a new tool or new artistic medium, I prefer to create artwork in a style I’m familiar with and encourage you to do the same. Being comfortable with your subject, lines, shapes, and/or patterns allows for an easier transition with the new supplies. For these white paint pens, which are a new-to-me medium and tool combined in one, I chose to create clean straight forward designs I love, and reminiscent of the ones we have done in our Simply Abstract Drawing Class.
Gathering my tools to ensure clean geometric designs, I began to see what these fluid mark making instruments could do. The first thing I learned is that the paint needed to have a bit of time to dry before moving to another area on the paper. It’s possible that this was just the particular pen I chose to use, but most likely the waiting will be a necessary part of working with this medium.
The paint moved effortlessly across the paper, which made it so fun to work with. There was a variation of saturation, or intensity, of the paint depending on the speed at which I maneuvered it, but I couldn’t go too fast or press too hard. This paint pen needs time to “refill” and let the liquid move down to the tip during and between line making, so it definitely doesn’t allow me to work as fast as other drawing materials like pencils or pastels.
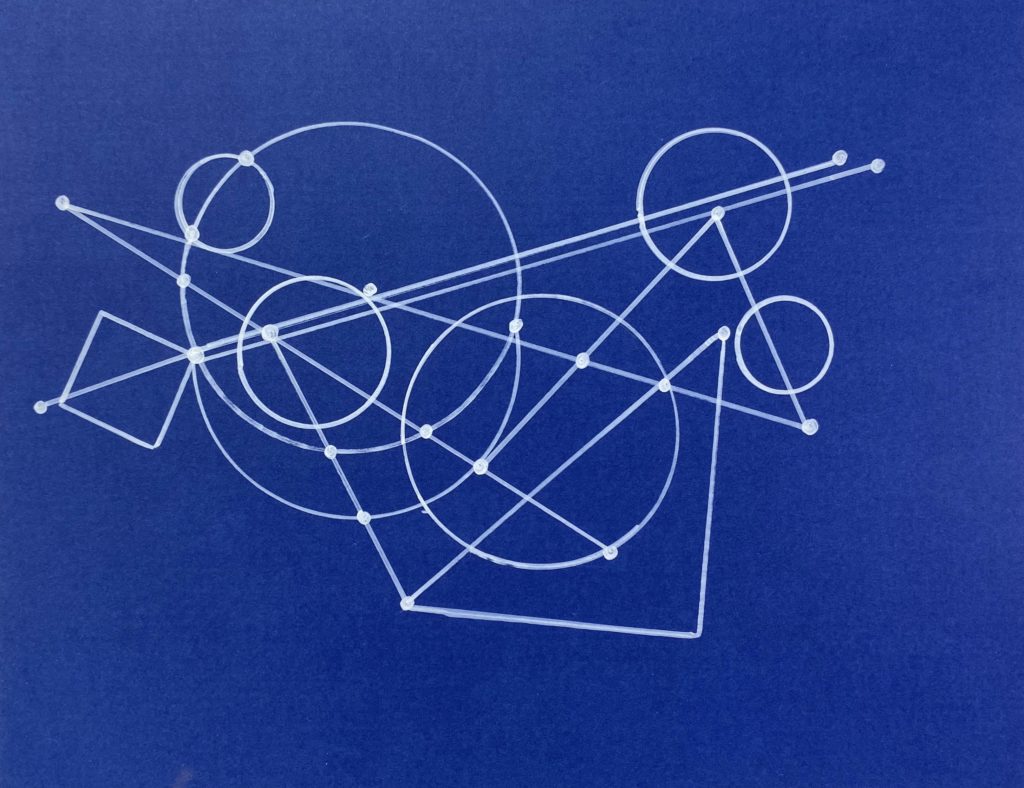
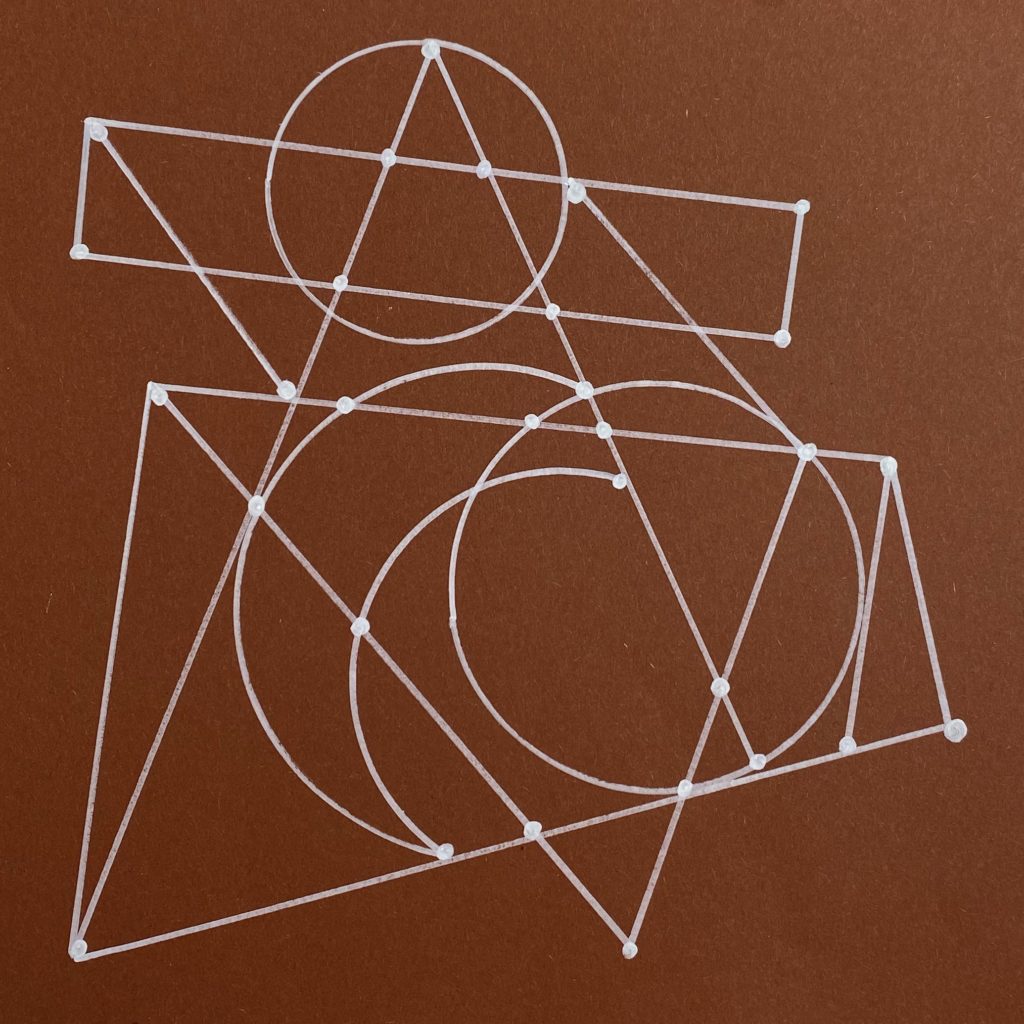
Once I practiced controlling my movements and the pen, I was on my way! And this was my finished artwork:
What you need for this art project:
- White paint pen with a fine tip
- Dark colored paper (I chose blue for this example)
- Straight edges such as rulers or triangles
- Circular stencils in different sizes (jar lids work well)
How I created my artwork:
- I chose different sizes of circular stencil to create circles. These anchor my piece.
- Next, I began to use straight lines to make other geometric shapes, such as triangles and trapezoids, using my ruler and triangle.
- I continued adding lines and circles until I felt my piece was balanced and interesting.
- Finally, I added dots at the intersection of some, but not all, of my lines.
The way these geometric shapes intersect with each other, creating new shapes, is such an interesting way to begin with a new material or utensil. Adding lines and dots to compliment and complete your art piece is a little thrill you get at the end. The clean overall look of this style is appealing and easy to understand.
I haven’t tried using these pens “free-handed”, with no ruler or stencil to help guide me, but I certainly intend too. My next step will be to try and go organic and see how things flow, and I can’t wait to share that with you too.
